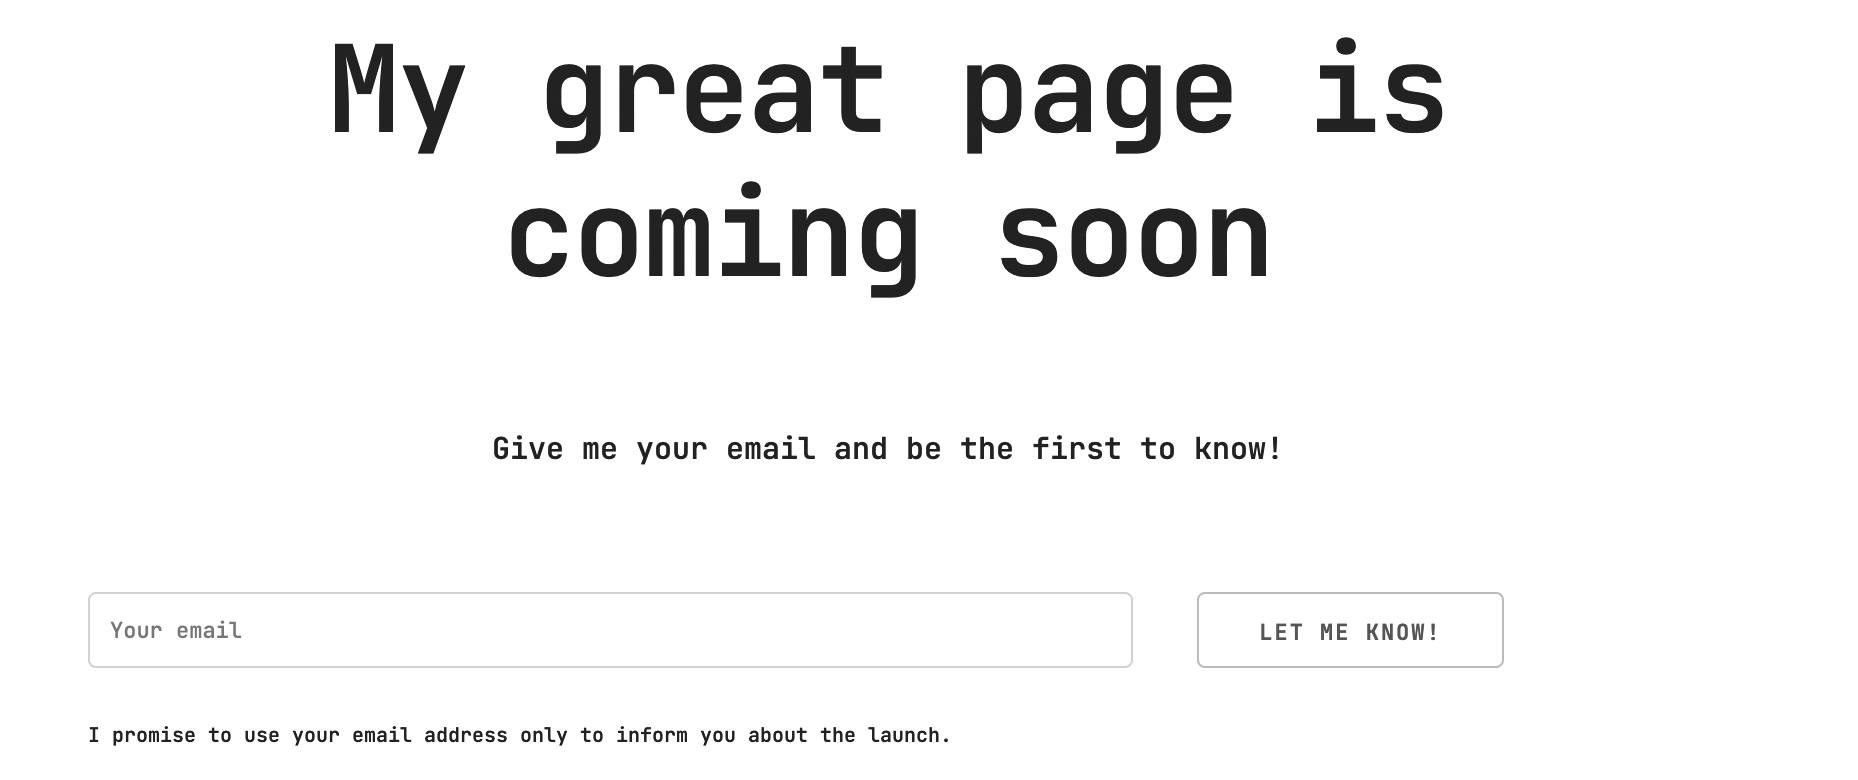
You have a static website and you want to add a simple form:
- user types their email,
- user clicks on the submit button,
- their email is stored somewhere.
Like here:

That can’t be difficult, can it?
It depends.
This is the first part where I will show everything except the actual validation of the data that the user enters. That will be the topic of the second part.
Introduction
I would start with saying that I am a backend developer and I am only slightly aware of the frontend stuff. Like, I know about HTML, CSS and JS, but I have never built anything interactive.
Still, I expected that I would google “simple html js form” and found one page that would tell me what to do and I would just copy the code and it would work. This expectation turned out to be too optimistic.
Instead, I spent quite some time putting together pieces found all over the Internet (mostly Stack Overflow). I knew that I was asking stupid and/or trivial questions because I usually found threads that were a couple of years old and contained one answer in broken English with 0 or 1 upvotes.
If you know more about the frontend than me, please don’t be offended if you find my code ugly. This article is just what I would have been happy to find when I was working on this problem.
Problem
In the beginning, I said that we need to have a form when you enter something, you submit it and it will somewhere store that something.
But it is actually a shortened version of the real requirement. Let’s look closer of what’s implicitly included there:
- User types their email to the textbox.
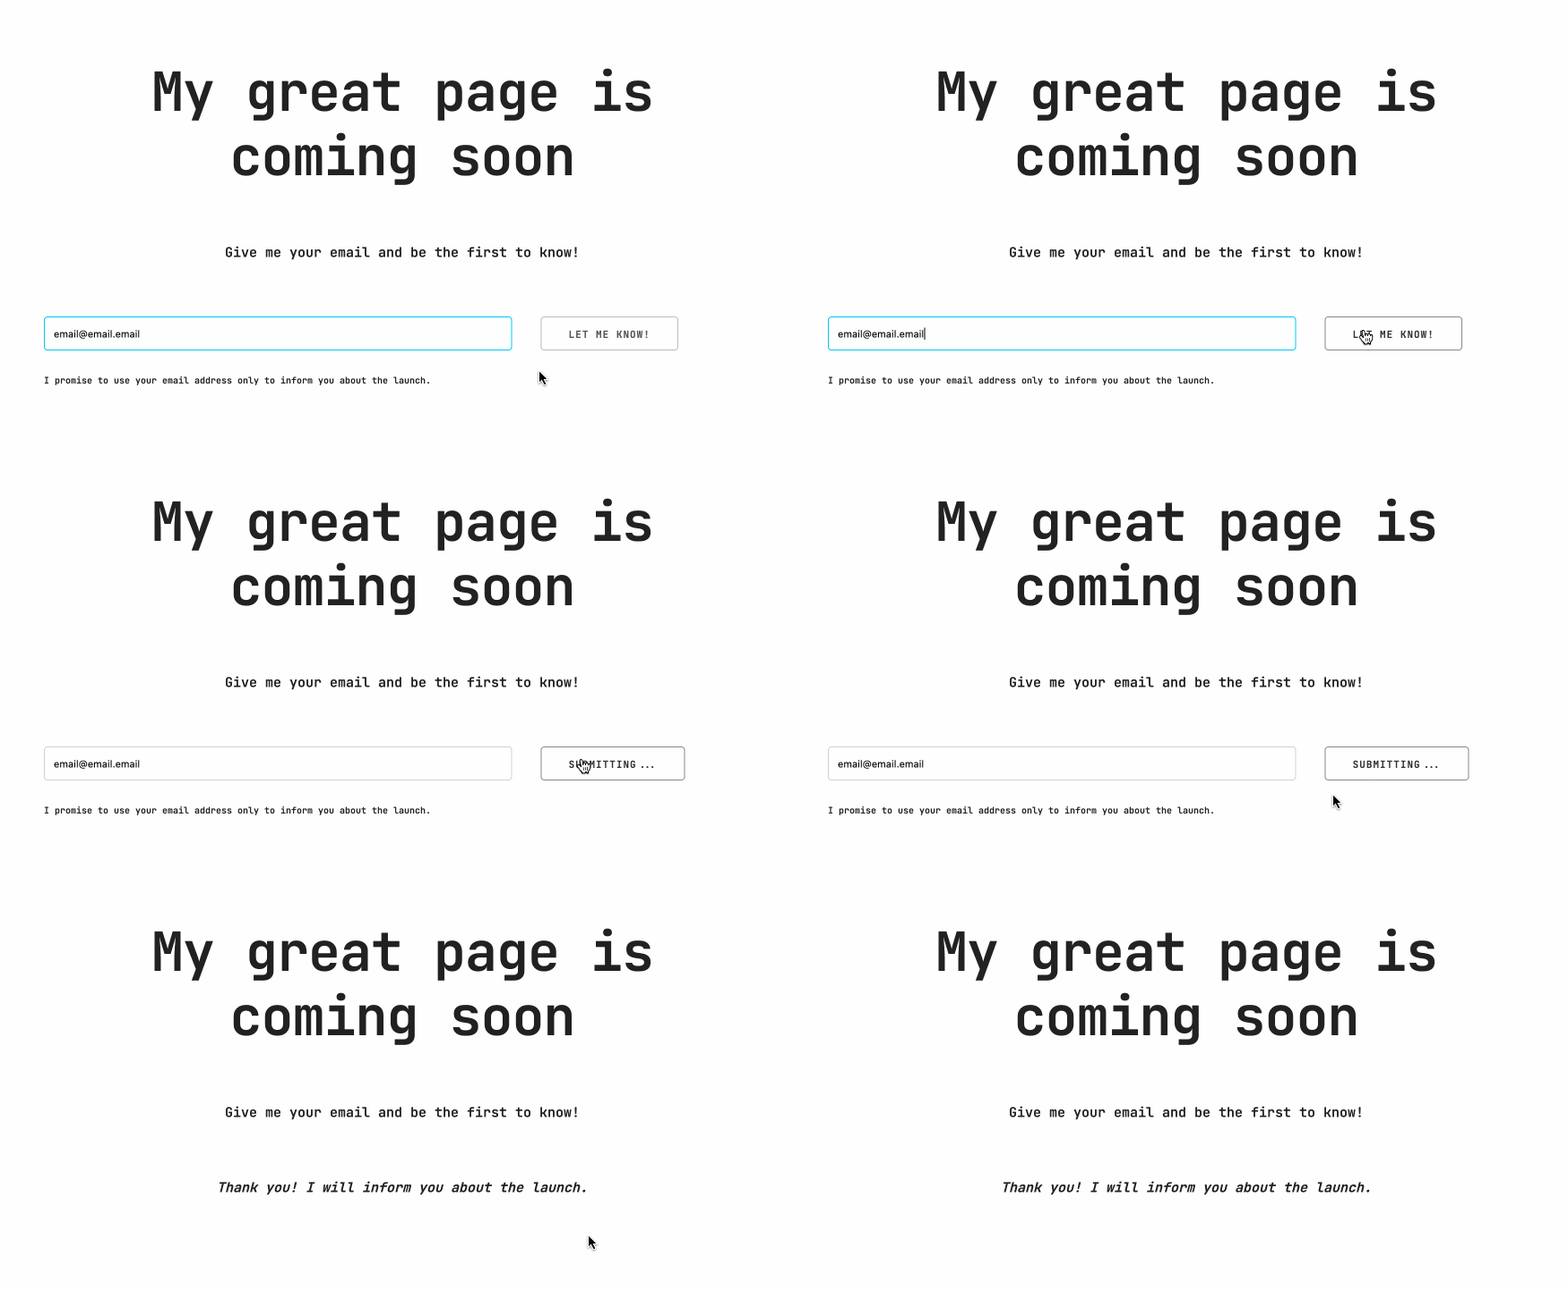
- When they click on the submit button, it will become inactive. This way, they won’t be able to click it a hundred times while the form is being processed.
- If the user entered an invalid value, we inform him about it.
- The processing of the form makes an HTTP call somewhere and saves the email.
- After the form is successfully processed, we hide the form and display a thank you message.
- We want to make it harder for the bots to submit the form.
Solution
Let’s work on that form!
The whole page will look like this:

1. Create the form
This is a very basic form with some CSS styling. I use Skeleton and some custom styles here. All the code is available in the repo.
<div id="form-container">
    <form id="form">
        <div class="row">
            <div id="email-container" class="eight columns">
                <input id="email" class="u-full-width" type="text" name="email" placeholder="Your email">
            </div>

            <div class="four columns">
                <button id="submit" type="submit">Let me know!</button>
            </div>
        </div>
    </form>
</div>

<p class="bottom-text">I promise to use your email address only to inform you about the launch.</p>
2. Discourage some bots
We don’t want bots posting dummy submissions of our form. However, trying to implement a perfect solution would require a lot of time and effort (I am not sure if it’s even possible).
When looking for a simple solution that covers most of the cases, I found this Stack Overflow question that says:
- add a dummy checkbox that is unticked and not visible to users,
- if the submission contains ticked checkbox, treat it as spam (see the section about validation below).
So let’s add this input element to our form:
<div>
    <input type="checkbox" id="contact_me" value="1" style="display:none !important" tabindex="-1" autocomplete="off">
</div>
3. Add the event listener and create the submit handler
We need to add an event listener that will call the submitForm handling function after the form is submitted. Let’s put it into a separate file called submit.js.
document.getElementById('form').addEventListener("submit", submitForm);

async function submitForm(event) {
  // TODO...
}
Don’t forget to include the script in your page:
<script src="./submit.js"></script>
4. Don’t reload the page on submit
The default behaviour is to reload the page when the form is submitted. To prevent it, just call event.preventDefault() first thing in the handler:
async function submitForm(event) {
    event.preventDefault();

    // TODO...
}
5. Disable the submit button while processing
After the user clicks on the submit button, it may take some time to process the form. We want to user to know that something is happening – to make them happy and to prevent them from frantically clicking the button because they thought that nothing was happening.
We will do that by changing the text in the button and disabling it:
var submitButton = document.getElementById('submit');
submitButton.setAttribute('disabled', 'true');
submitButton.textContent = 'Submitting...';
We will need to re-enable the button only if the user enters an invalid input (on valid input, we will hide the whole form and don’t need to take care of re-enabling).
submitButton.removeAttribute('disabled');
submitButton.textContent = 'Let me know!';
6. Read and validate the input
This topic has its own article: Part 2: Form validation
7. Process the data
After we have the data validated, we convert them to JSON format send a POST request wherever we want them to be stored.
const urlToPost = '???'; // to be set...

var requestBody = { email: email.toLowerCase() };

const response = await fetch(urlToPost, {
    method: 'POST',
    headers: {
      'Content-Type': 'application/json',
    },
    body: JSON.stringify(requestBody),
});
8. Remove the form and display a thank you message
We will remove the form element and replace it with a new one containing a thank you message:
// remove the form element
document.getElementById('form').remove();

// create a new element
var textElement = document.createElement('div');
textElement.classList.add("thank-you");
textElement.textContent = 'Thank you! I will inform you about the launch.';

// place the new element
document.getElementById('form-container').appendChild(textElement);
The result will look like this:

Conclusion
There is quite a lot to be done to create a simple form.
I hope that this post (together with the second) will serve as a template that you can use even if you don’t understand all the code required to do it.
You can find the complete solution in the repo.
Next part
Source code
You can view the complete source code on Github.
Last modified on 2021-06-11